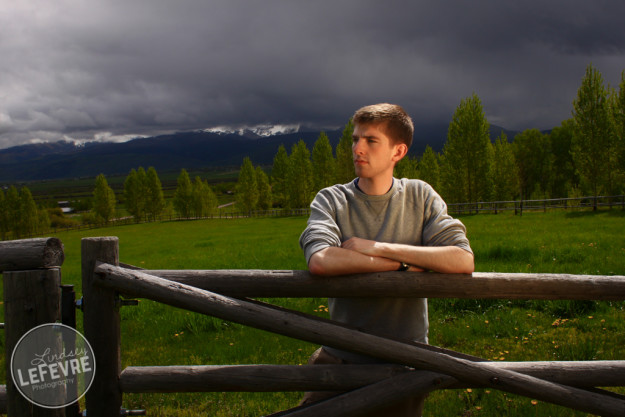
Balancing the Light
Balancing the light is a fun way to get a well-lit outdoor portrait without having a blown-out background. I learned this technique from Caryn Esplin when we went on a photo excursion to the Tetons in Idaho and Wyoming.
Step 1: Overexpose the background
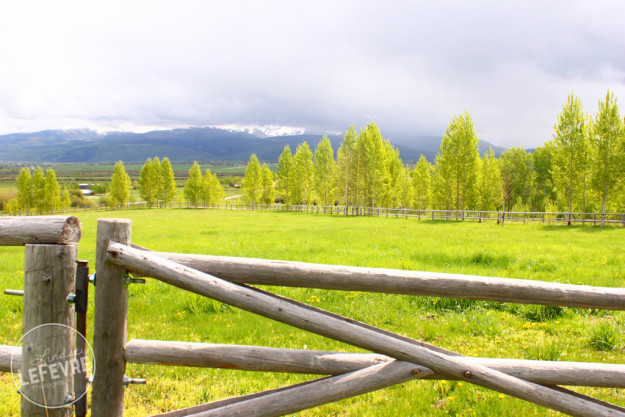
For this first image, I mainly just captured a shot of my background at a normal exposure. 1/160 sec. at F /9.o, ISO 200.
Step 2: Underexpose the Background
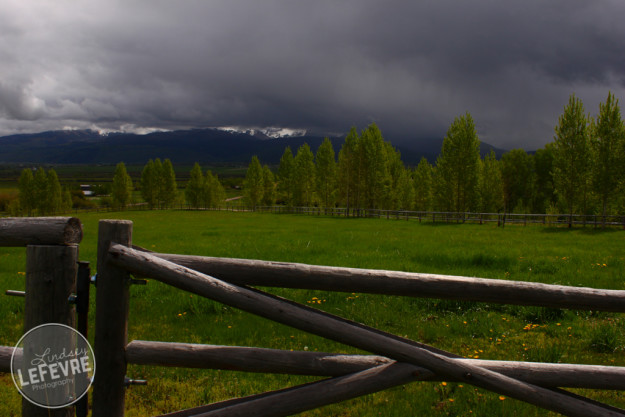
Now, change your settings so that the background is underexposed and less light is visible. My settings: 1/400 sec. at F /9.0, ISO 100.
Step 3: Move in the Model
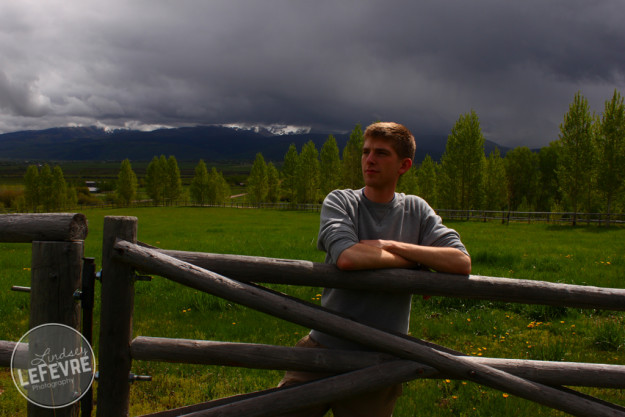
With my settings still the same, I brought in my model and you can see that he is clearly underexposed and it is hard to clearly see him. The sun was shining through the clouds above and it puts a little spot light on the top of his head and arms.
Step 4: Light up the Model
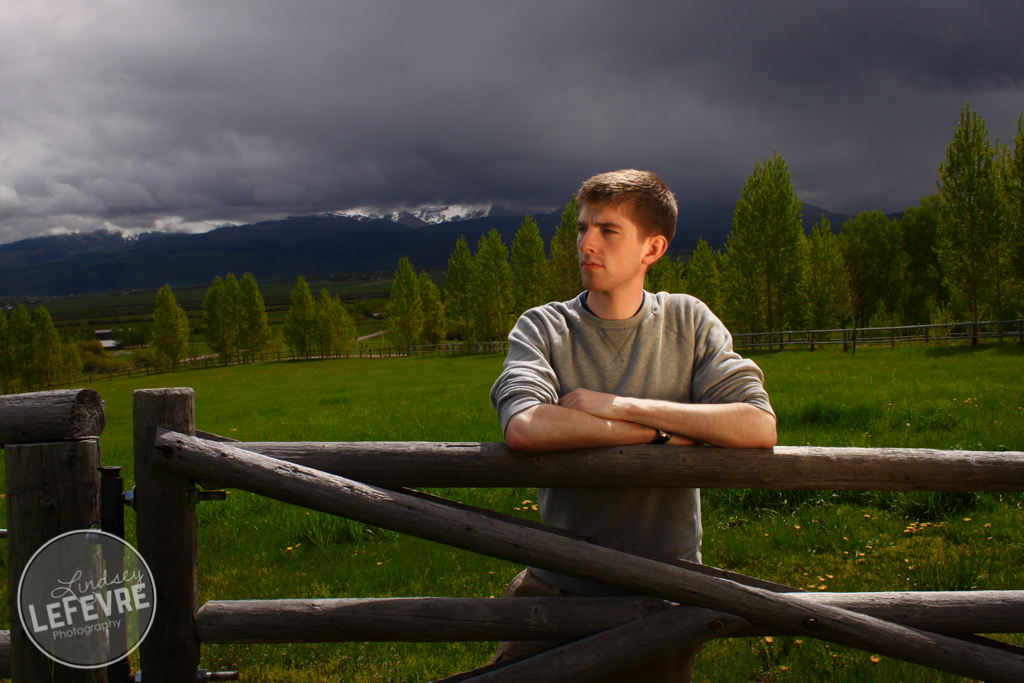
Now the fun part! You must have an external lighting source (speed light, reflector, continuous lighting, etc.). For this image, the speed light wasn’t bright enough to balance out the brightness of the sun. I had to use a reflector to bounce the gold light onto his face. I used the reflector to take advantage of the already existing light from the sun to help my friend Ben Harker pop off the background.
Balancing the light in your photos will make or break how awesome they are. Remember that the most incredible images always have incredible lighting. You can’t see something that doesn’t have light on it.
Glyn Dewis has some more great tips for you on outdoor portrait photography and balancing the light.

